Our little daily pleasure in summer is the newspaper. Get some fresh morning air while cycling to by the paper in the village (Fred), flipping through it during a well deserved coffee break (Romain), read it in the quiet shade (M. St Denis) or doing the cross-words while preparing the evening service in the restaurant (Jess)… quite a life for one newspaper, isn’t it?
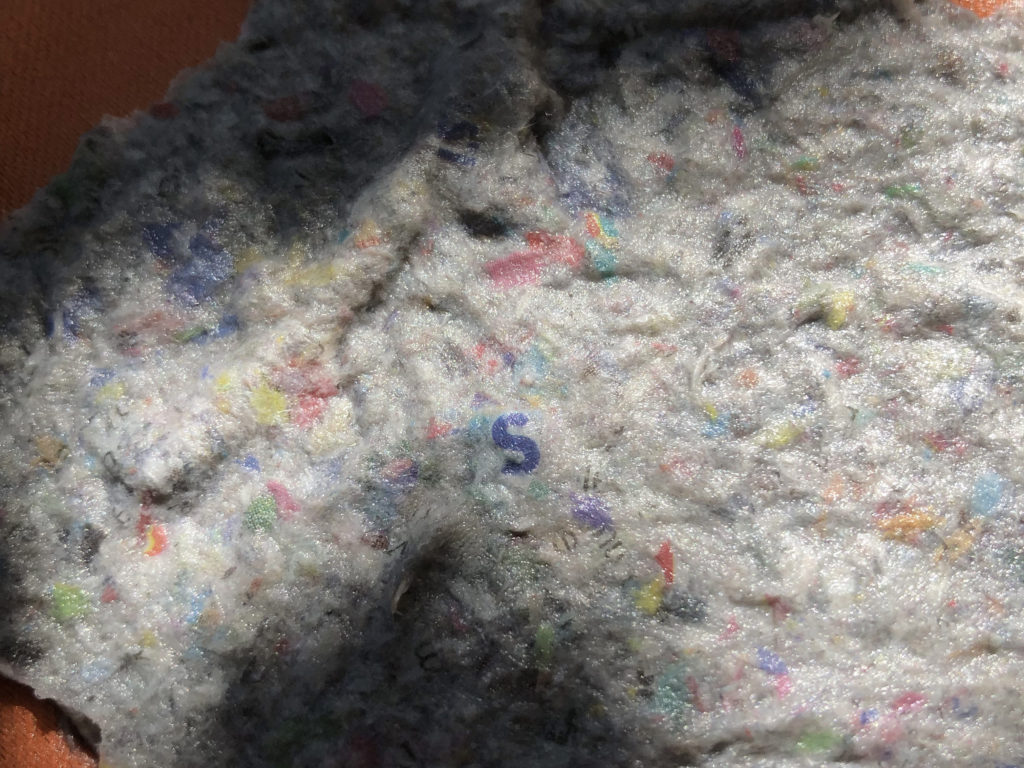
But journal paper is also very easy to recycle (magazines aren’t as easy, so we propose an other tutorial). The colouring pigments stay visible and give your homemade recycled paper a nice colour. If you look closely, you might even recognize some complete letters! Children will enjoy experimenting and personalising: freshly picked flowers , herbs and spices to colour your paper… What do you say, let’s get going?
What you need to make your homemade recycled paper
To prepare your mould and deckle:
- Two picture frames of the same size
- Aluminium window screening
- A mural stapler
To make your paper:
- Old newspapers (or used sheets of paper)
- A blender or mixer
- A basin or tub
- Scissors
- Rests of fabric or old clothes (rather smooth)
- Finally, a place protected against the wind (that’s not always easy in Ardèche)
Directions
Step 1 : prepare the paper pulp
We start by tearing our paper in little scraps. Ideally, you let them soak in water for at least ten minutes but you can also put them in warm water. If you want whiter paper, you can add a glass of white vinegar. Than put the mixture in the blender… here with freshly picked flowers to show what it gets to look like (spoiler : not much needed).
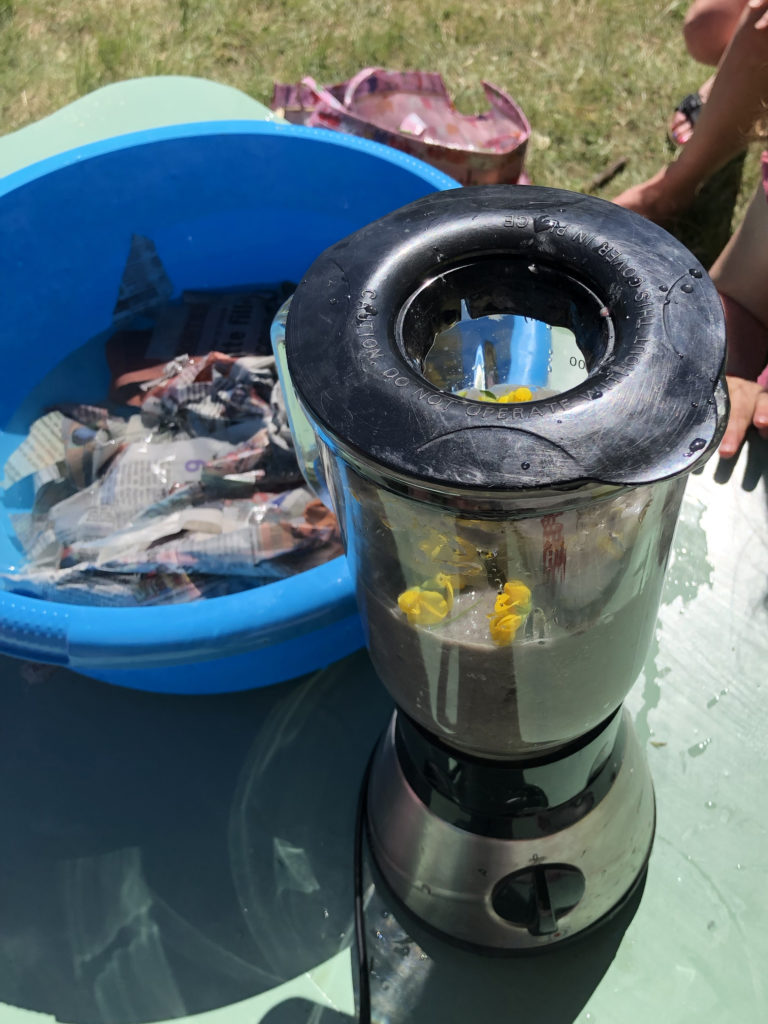
We then get a beautiful porridge that will make everyone hungry. This you pour in a pitcher and we add more water. Continue to dilute the preparation until it has the right consistency. You’ll know that by stirring the slurry with your hand; if it is too watery, your paper will be too thin and with not enough water the paper will be too thick.
Step 2: make your sheet of homemade recycled paper
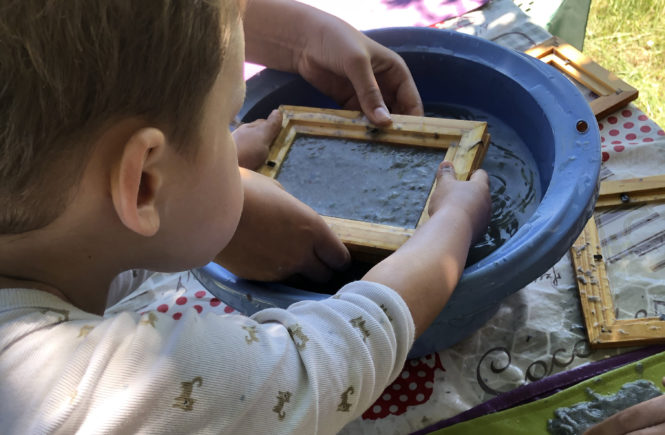
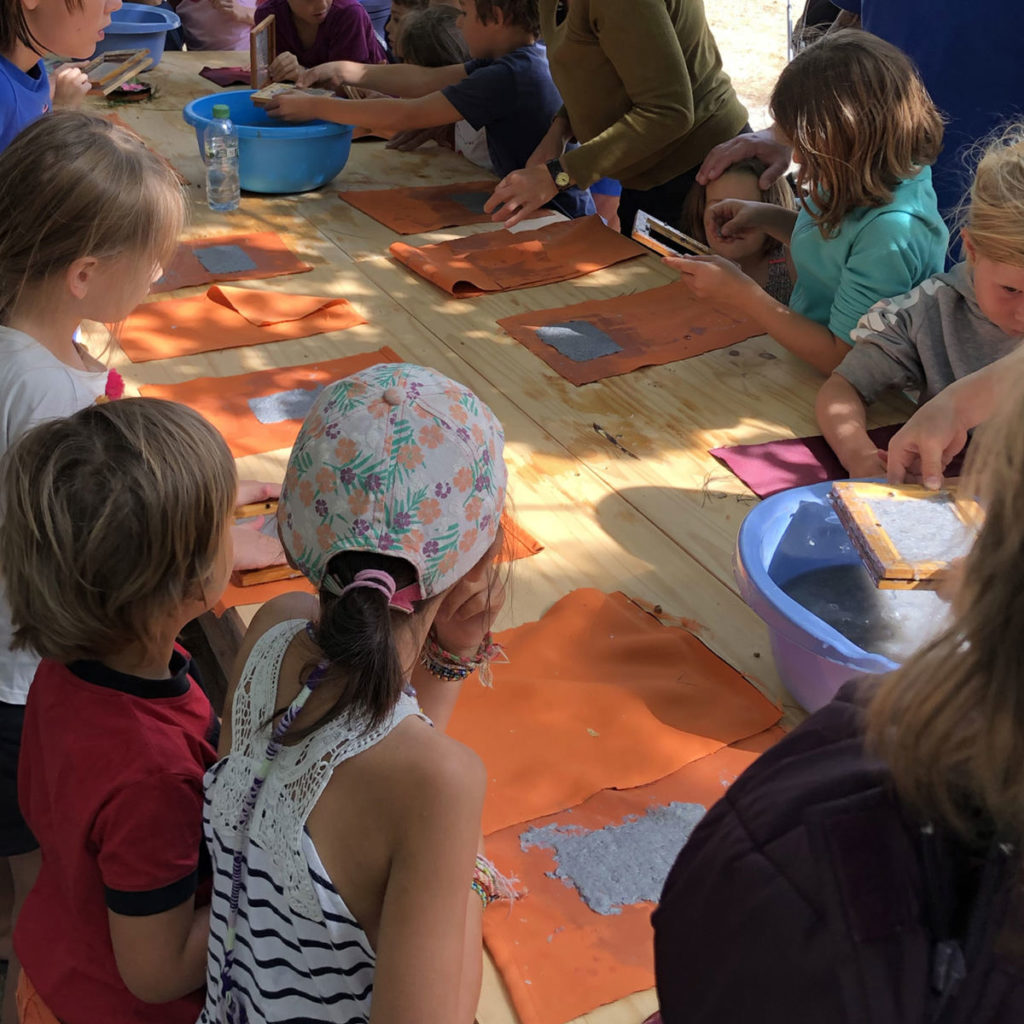
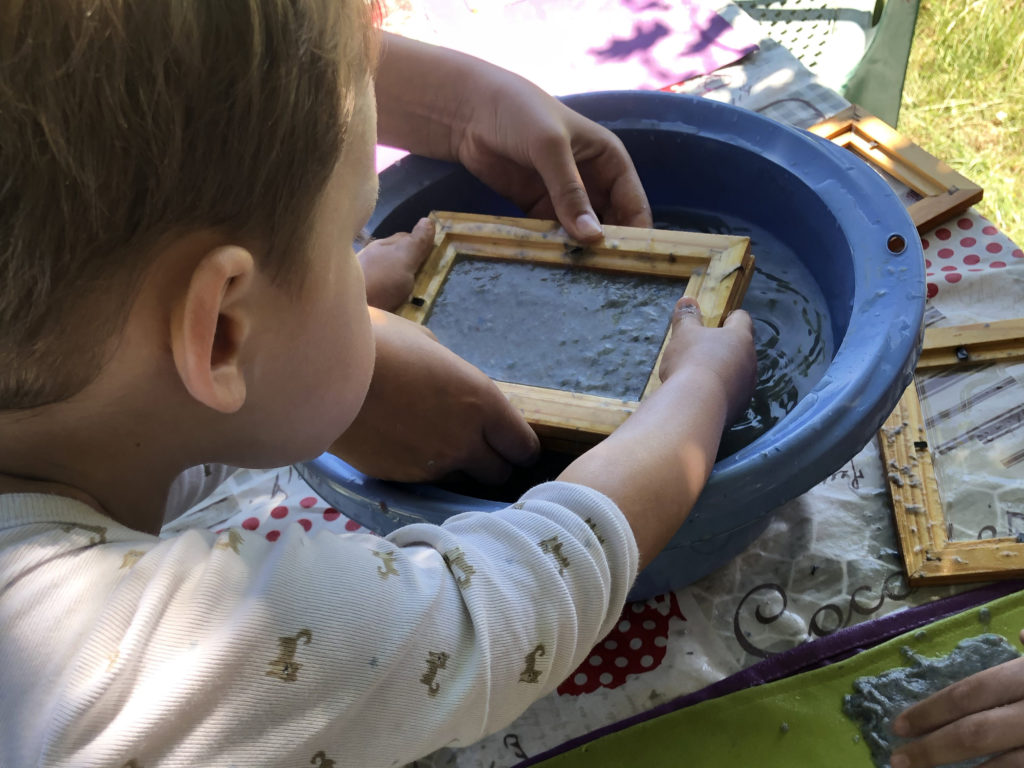
Now comes the moment where we can finally put our hands in the pulp. Be careful to submerge your frame correctly, or it won’t work. The screened frame below, with the screen at the top (not like on the picture). The empty frame (the deckle) will make a little basin in which the paperpulp will settle down. So it must stick against the screen.
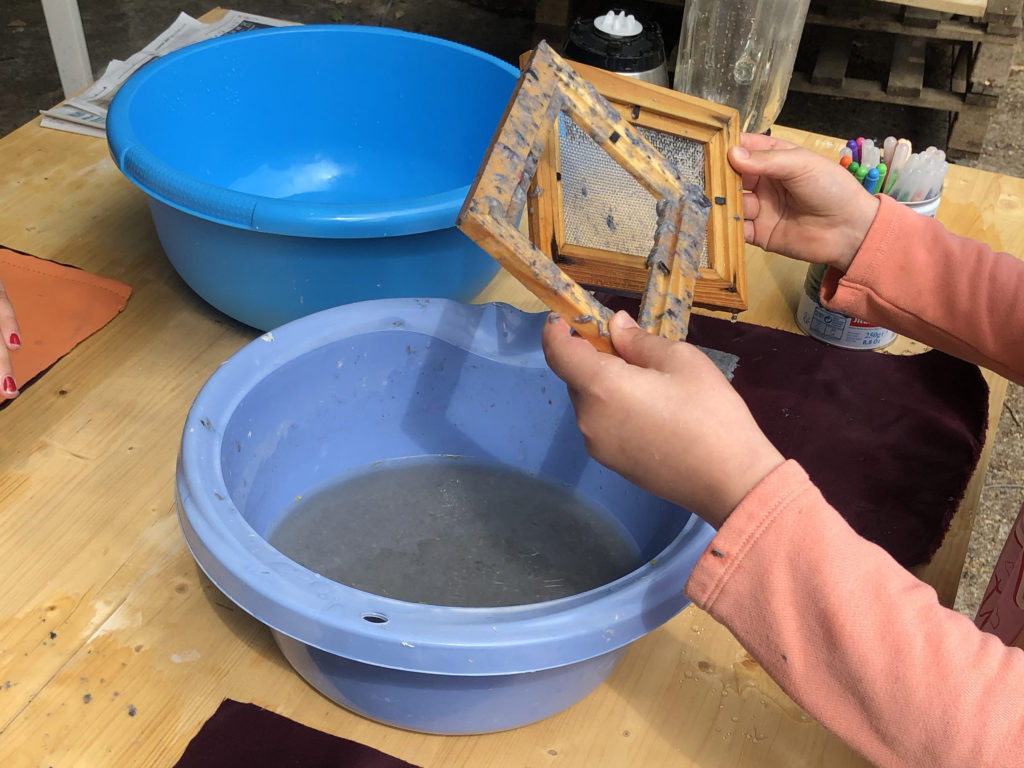
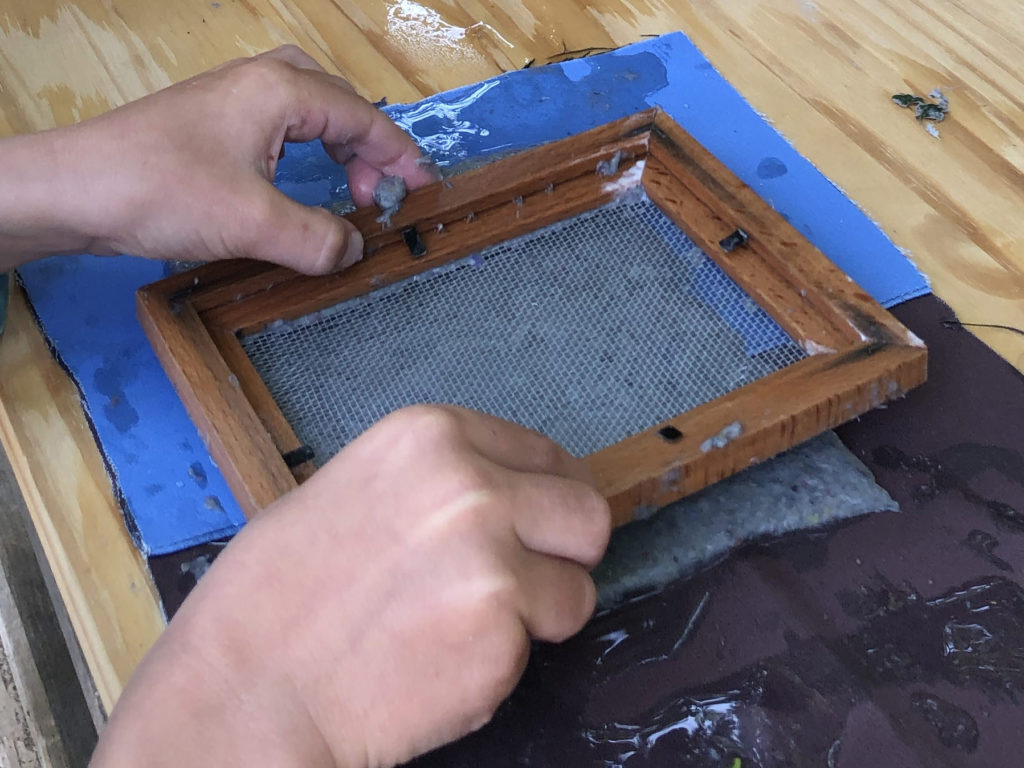
Place the frame vertically in the basin. Now turn it in a horizontal position at the bottom, then slowly move it upwards with the pulp inside and let the water drip out. Next, you can take away the deckle and turn the mould upside down on a fabric. No need to push down the paper, although it sticks to the screen; just detach it with a humid finger at the upper side.
Step 3: give your sheet a personal touch
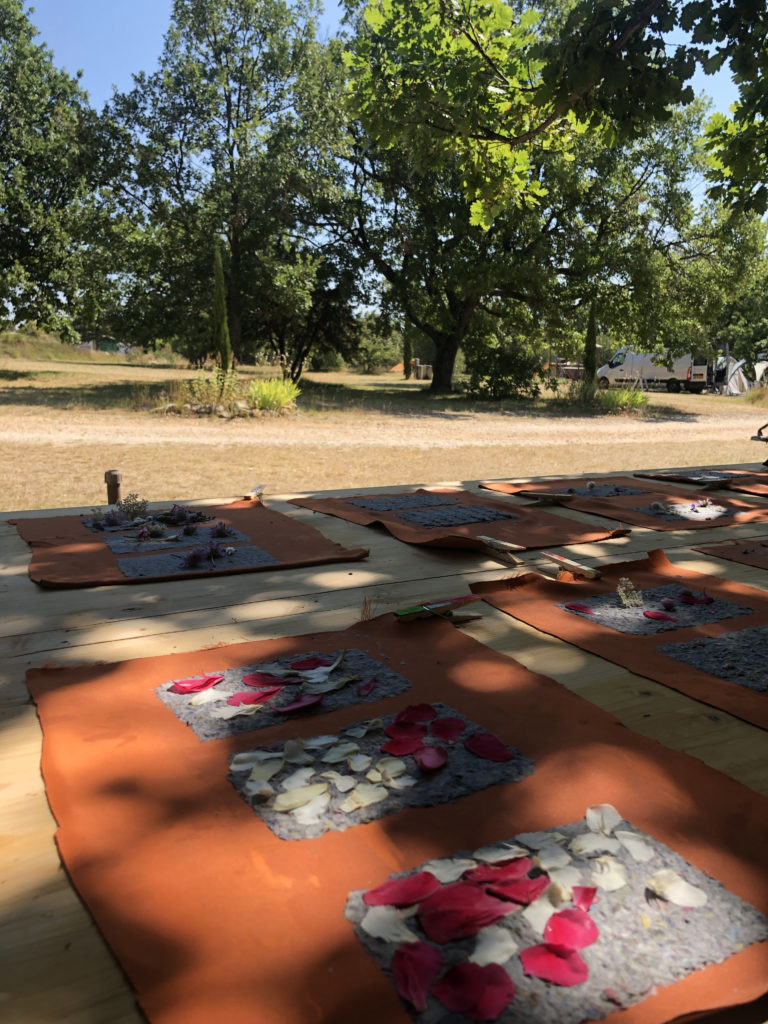
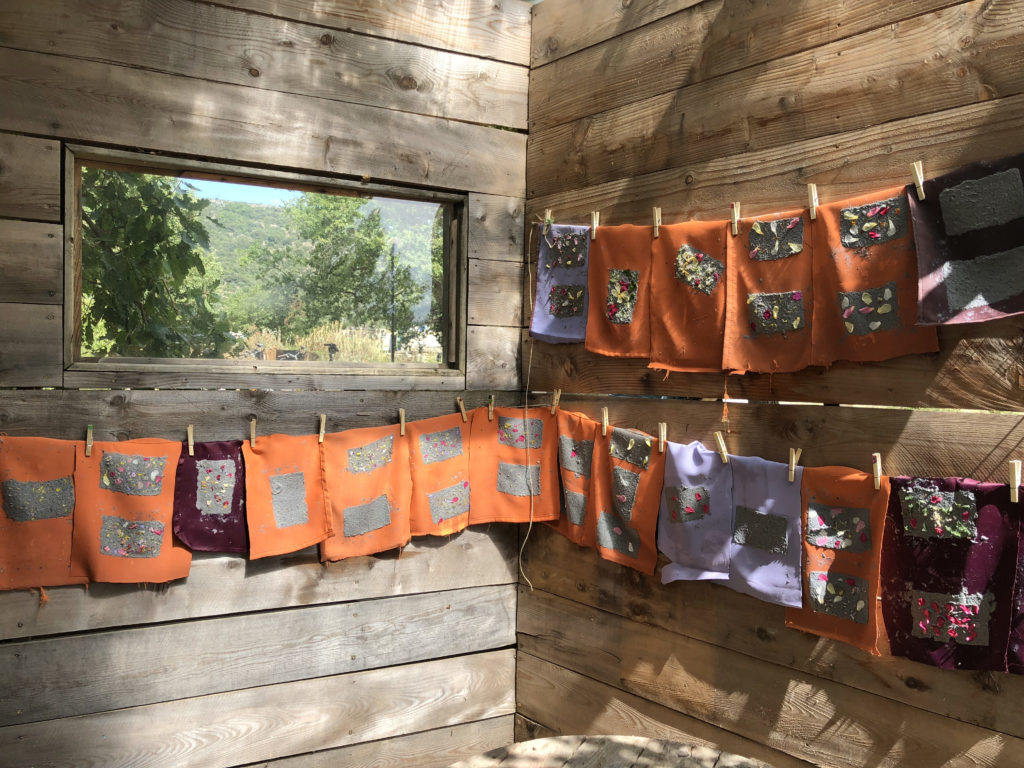
Now it gets really funny: this is where you can add flowers, grass or leaves or any other item that you have found outside (“I think that acorns won’t fix, but you can try kids”).
Step 4: let it dry
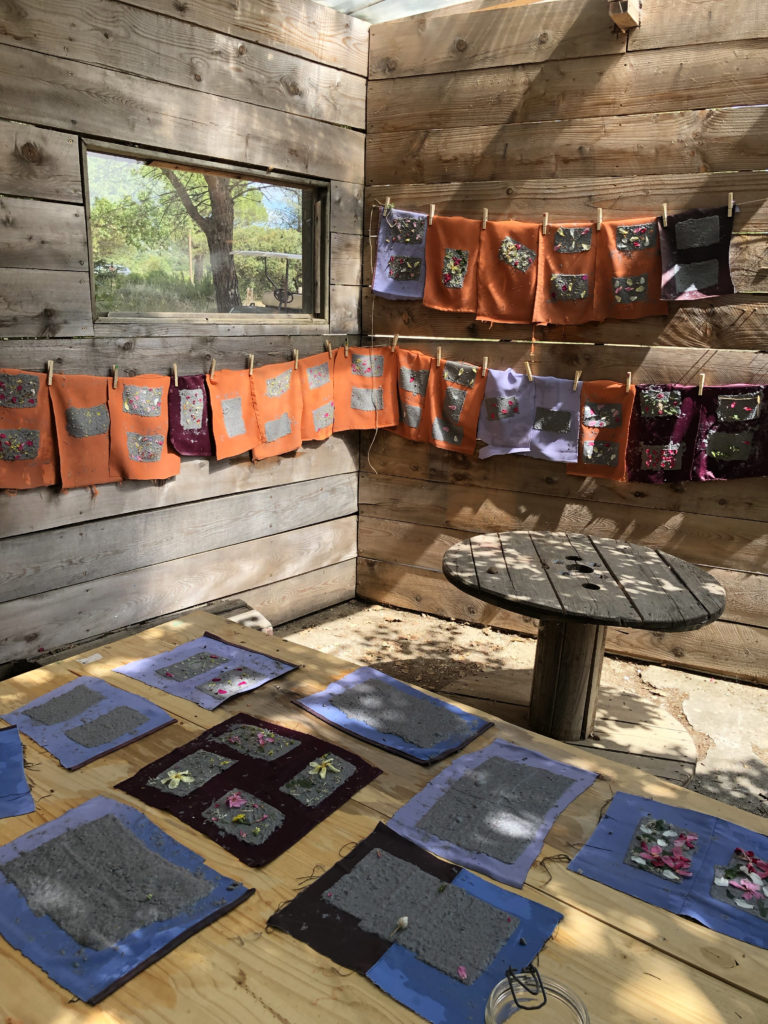
Now just let your paper sheet dry a few hours. The time depends on the ambient temperature and when dry, your sheet will come off from the fabric by itself. It will be a bit crumpled, but you can iron it, protected by some cloth or baking paper.
On our camp site, workshops always meet with a large success and is appreciated by young and old.
How we wish for the summer and new eco-friendly creative workshops (that of course we will adapt to the current context).
— Jessica
